There are several ways to add images to your website. This article will walk through each way so that you can decide what is easiest for you!
1. Uploading Images to the Image Repository
Catapult's Images repository lets you build a picture toolbox that you can use on any of your pages.
Uploading Photos to the Images Repository
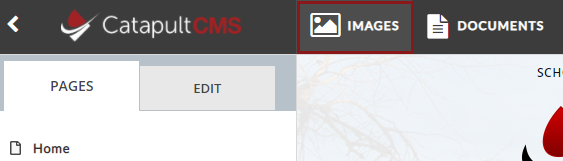
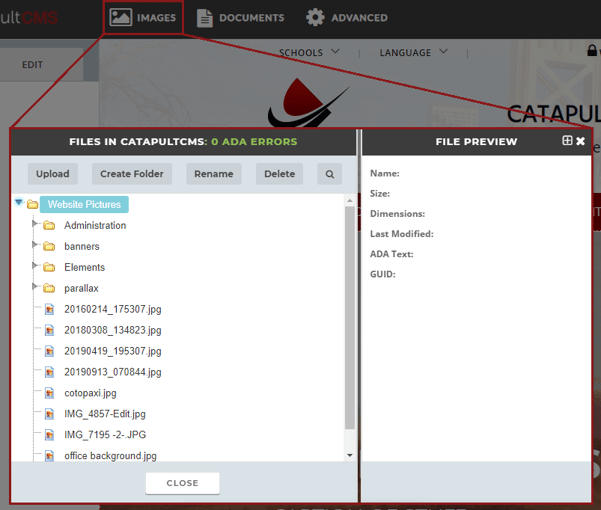
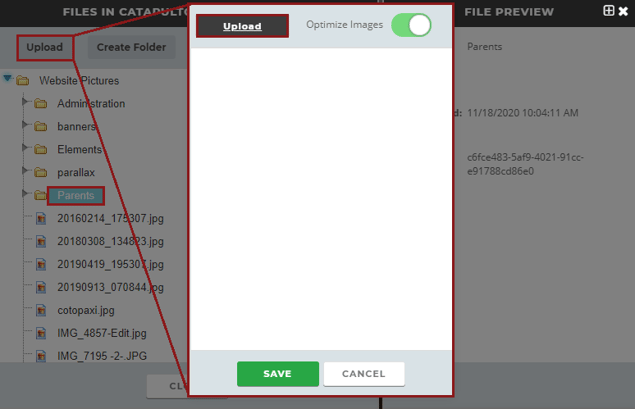
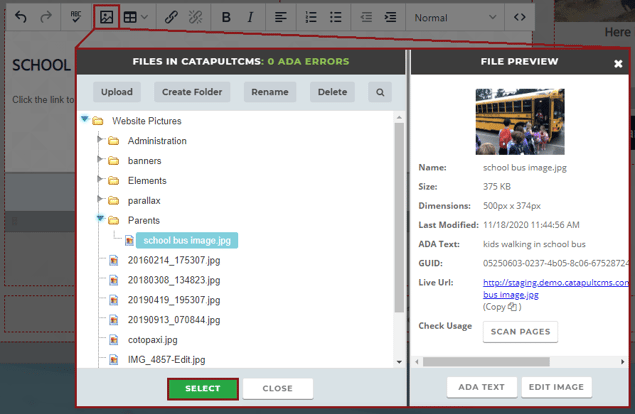
Clicking on the IMAGES button opens the Files in Catapult CMS window.
Create Folder
Before you upload a photo, you need to pick which folder the picture will be placed in. If you don't choose a folder, the pictures will upload to the root Website Pictures directory. You can always drag file names to reorganize them later. You can also rename or delete them.
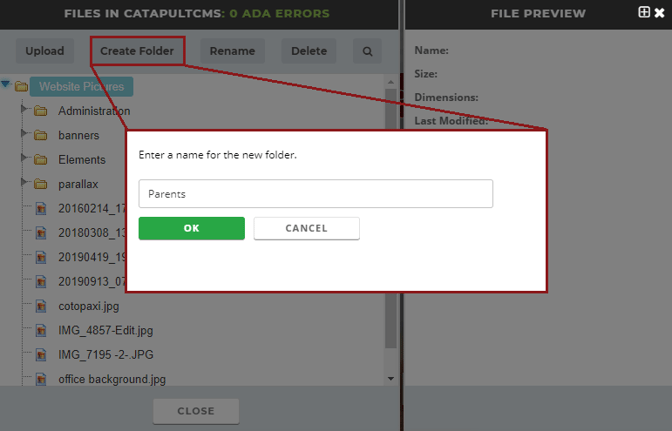
To make a new folder, click CREATE FOLDER and name it in the window that pops up.
Upload Image
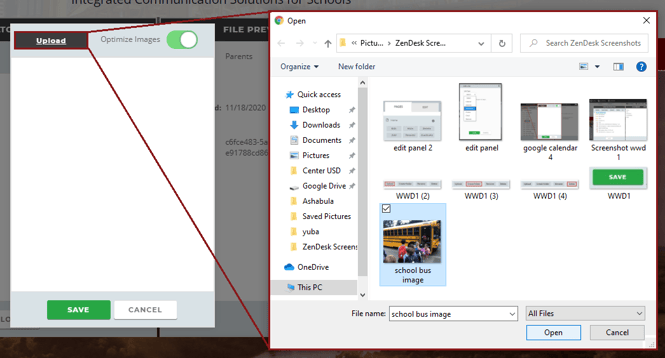
Click the folder name you want, then click the UPLOAD button. A small Upload window opens, along with a window on your computer. Navigate through your computer files to find the image you want to upload.
Optimize Image
The image file name will appear in the small Upload window.
Before you save your image, you may need to optimize it. Unlike most document files, images have the potential of being way too big to fit on a webpage. So we offer image optimization to size them down as you upload them. Click the OPTIMIZE IMAGES toggle to size your image for the web.
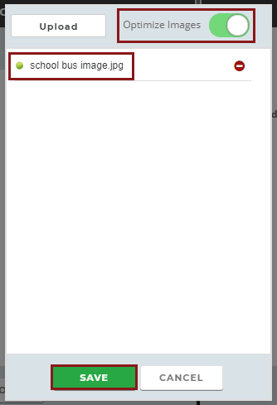
Save Image
Click SAVE, and your chosen image file will will appear in your highlighted folder.
File Preview
The File Preview pane tells you about the file you have selected. From that pane you can add ADA text (see article on ADA Compliance) or edit the image.
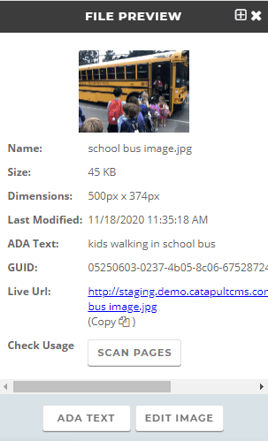
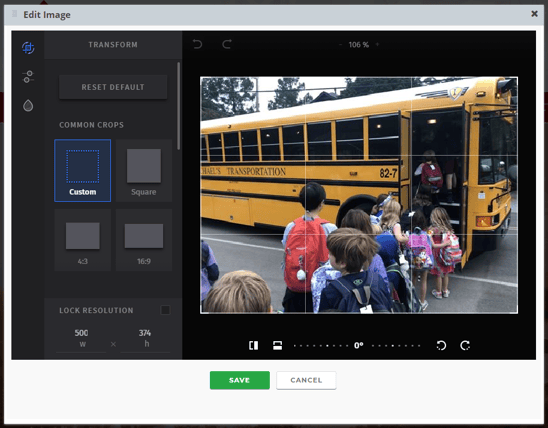
Editing Images
The edit image feature allows you to crop, resize, and add some simple effects.
2. Upload an Image in a Text Element on the Page
You can also upload an image right on the page you are editing.
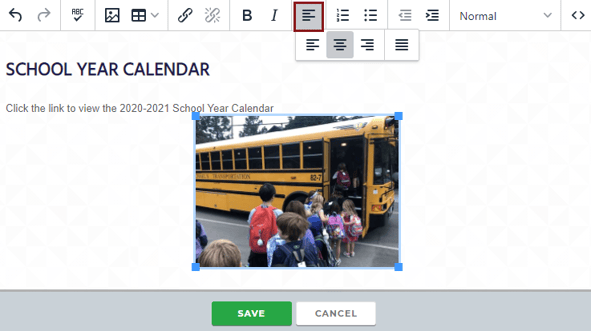
Click inside the text element, position your cursor where you want to add the image, and click the IMAGE icon.
Select the picture you want to use, and hit SELECT. The picture will appear where you placed your cursor. You may resize the image by grabbing on of the blue square at the corners and dragging until it is the size you want. You may position the image at left, center or right of the text element.
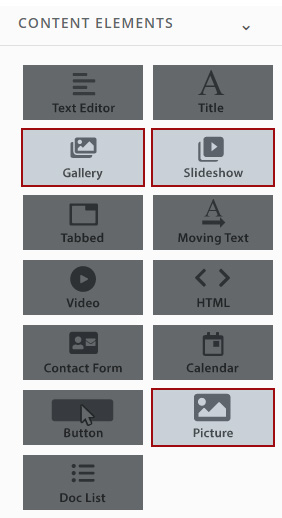
3. Banner, Gallery, Slideshow & Picture Elements