The Doc List element makes it easy to display a list of documents by linking to a folder in the File Manager, rather than linking each document manually in a Text Editor element. This article will review the steps to implement a doc list on a page.
- With the EDIT panel open, drag the Doc List Element to your page.

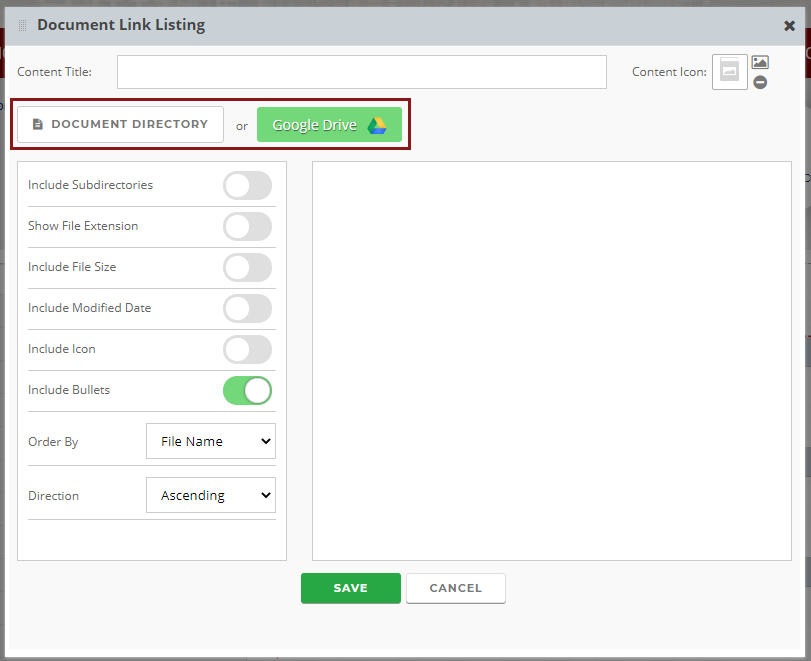
- Click the element to open the Document Link Listing window.
- Give the Doc List a name (if you wish) in the CONTENT TITLE area.
- To access your documents, click the DOCUMENT DIRECTORY button or the GOOGLE DRIVE button.
 The DOCUMENT DIRECTORY will open your Catapult File Manager with a list of folders you have already made.
The GOOGLE DRIVE button will allow you to select a document folder from your Google Drive; you must be logged into your Google account in the same browser for this function to work.
For instructions on uploading, please view the Uploading Documents article.
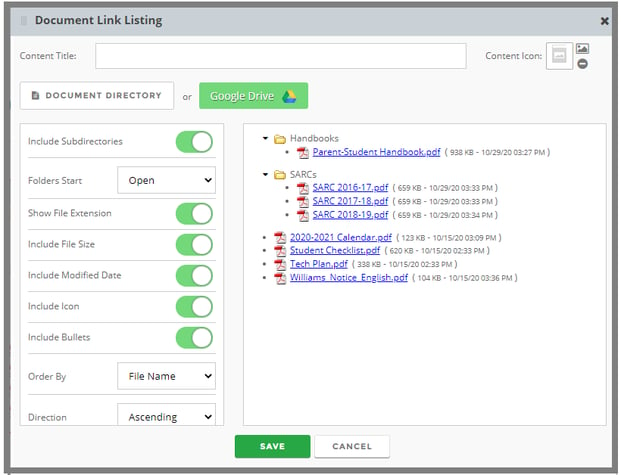
- On the left side, there are a number of buttons that allow more details to be displayed about the documents.
-
- Choose toggles you want (the simplest is INCLUDE BULLETS).
- Select ORDER BY File Name or Date Modified.
- Select DIRECTION: Ascending or Descending.
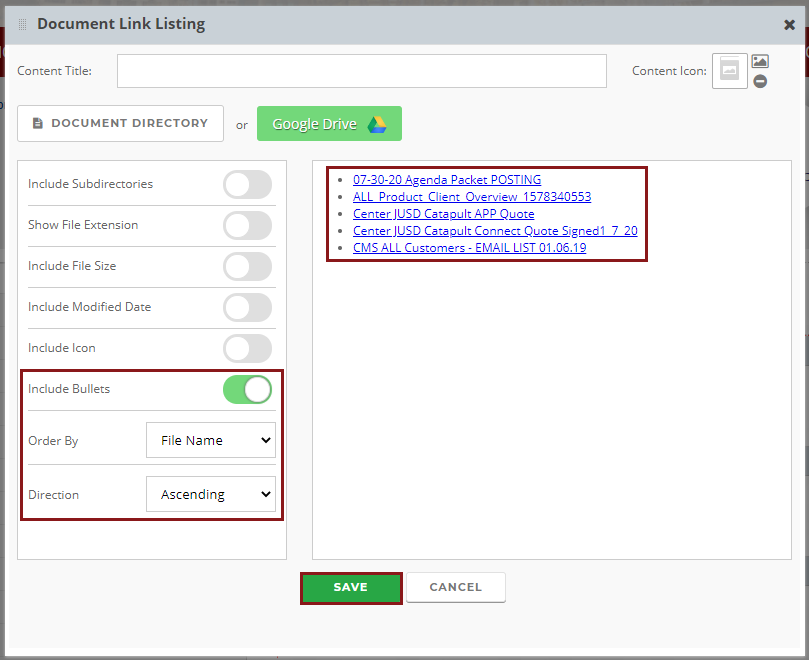
- When more toggles are chosen, more information is displayed. This is generally not needed, but is an option to be decided.
-
Naming Your Documents
Note that your documents will be displayed exactly as you have named them. Make sure that the document name is one you will want displayed. For example, "2020-21 Handbook" is easier to read than "2020-21_Handbook-Final_Draft_Aug2020_Board_Approved."
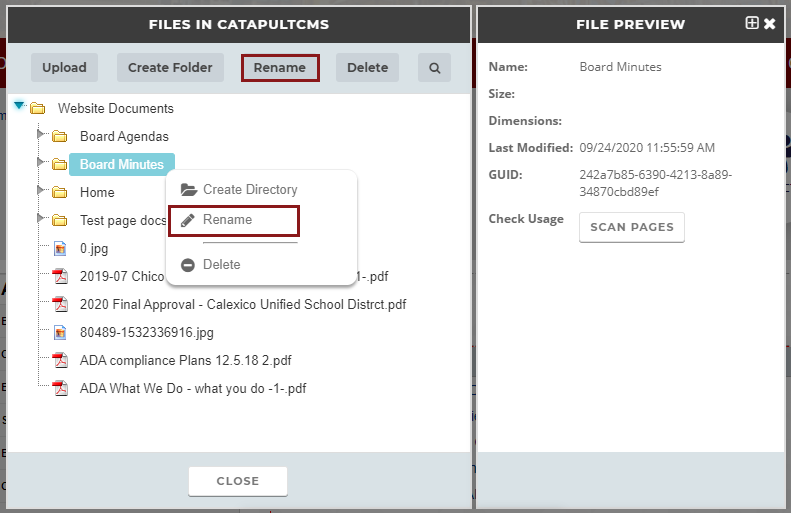
You may change the name of any file by right clicking the file name and choosing RENAME or clicking the RENAME button in the File Manager. A window will pop up where you may edit the name.